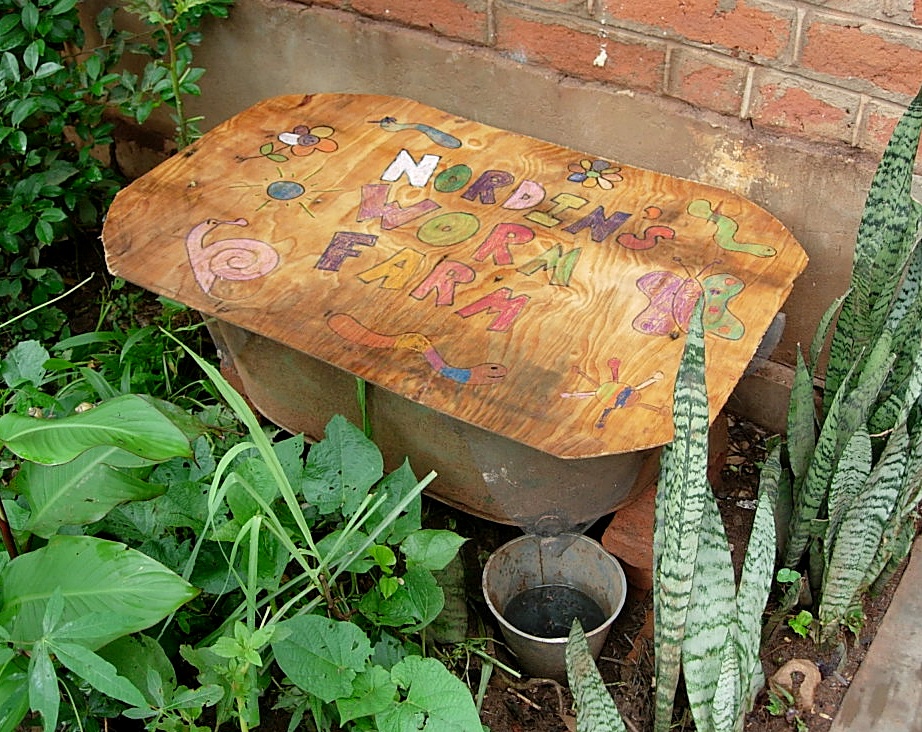
Worm farming (also known as vermiculture) is a process of using worms to convert organic matter into nutrient-rich compost. This process is a fantastic way to reduce food waste, return diverse nutrients to the soil, increase microbial activity, and improve soil aeration. As worms eat through organic matter, their manure creates something called ‘castings‘. These worm castings are one of the richest sources of natural fertilizers.
Worm castings are not just high in nitrogen, but can also contain phosphorus, potassium, magnesium, copper, zinc, cobalt, borax, manganese, iron, calcium, and carbon. The more diversity that you return to the worms, the more nutrients that they will return to you. They also provide a great source of beneficial bacteria and enzymes.
The great thing about worm farming is that it can easily be done on an individual or household level. It can also be scaled-up for income generation, to reduce waste in institutions like hospitals or airports, and even used to help entire cities to recycle organic matter into a valuable resource.
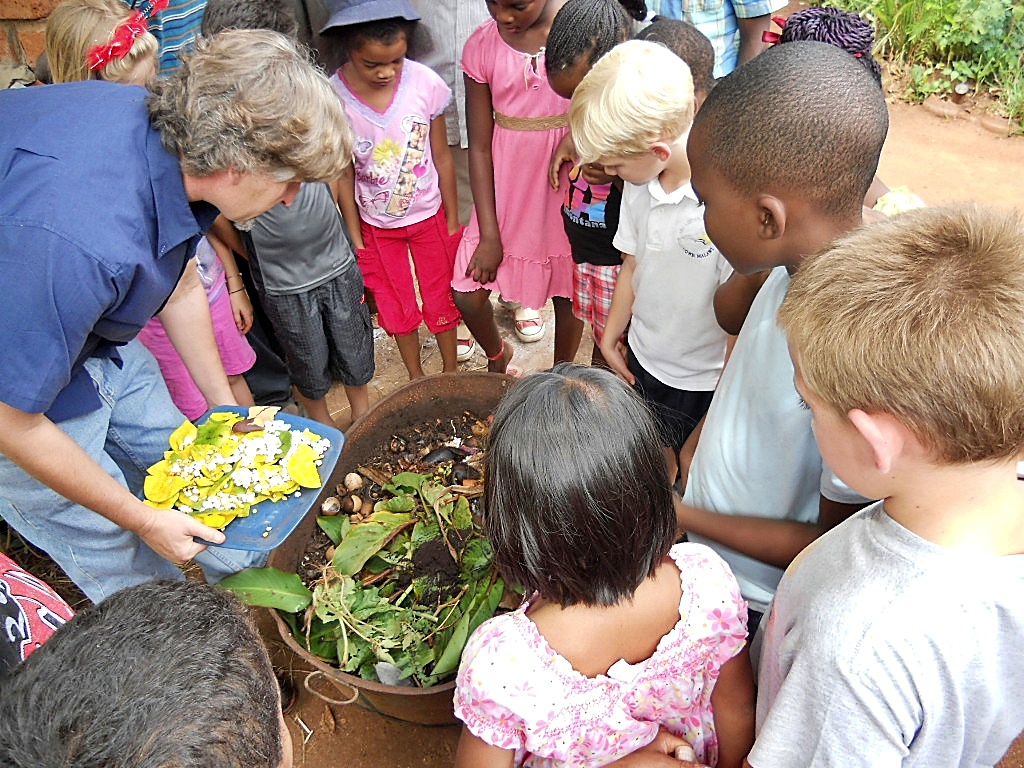
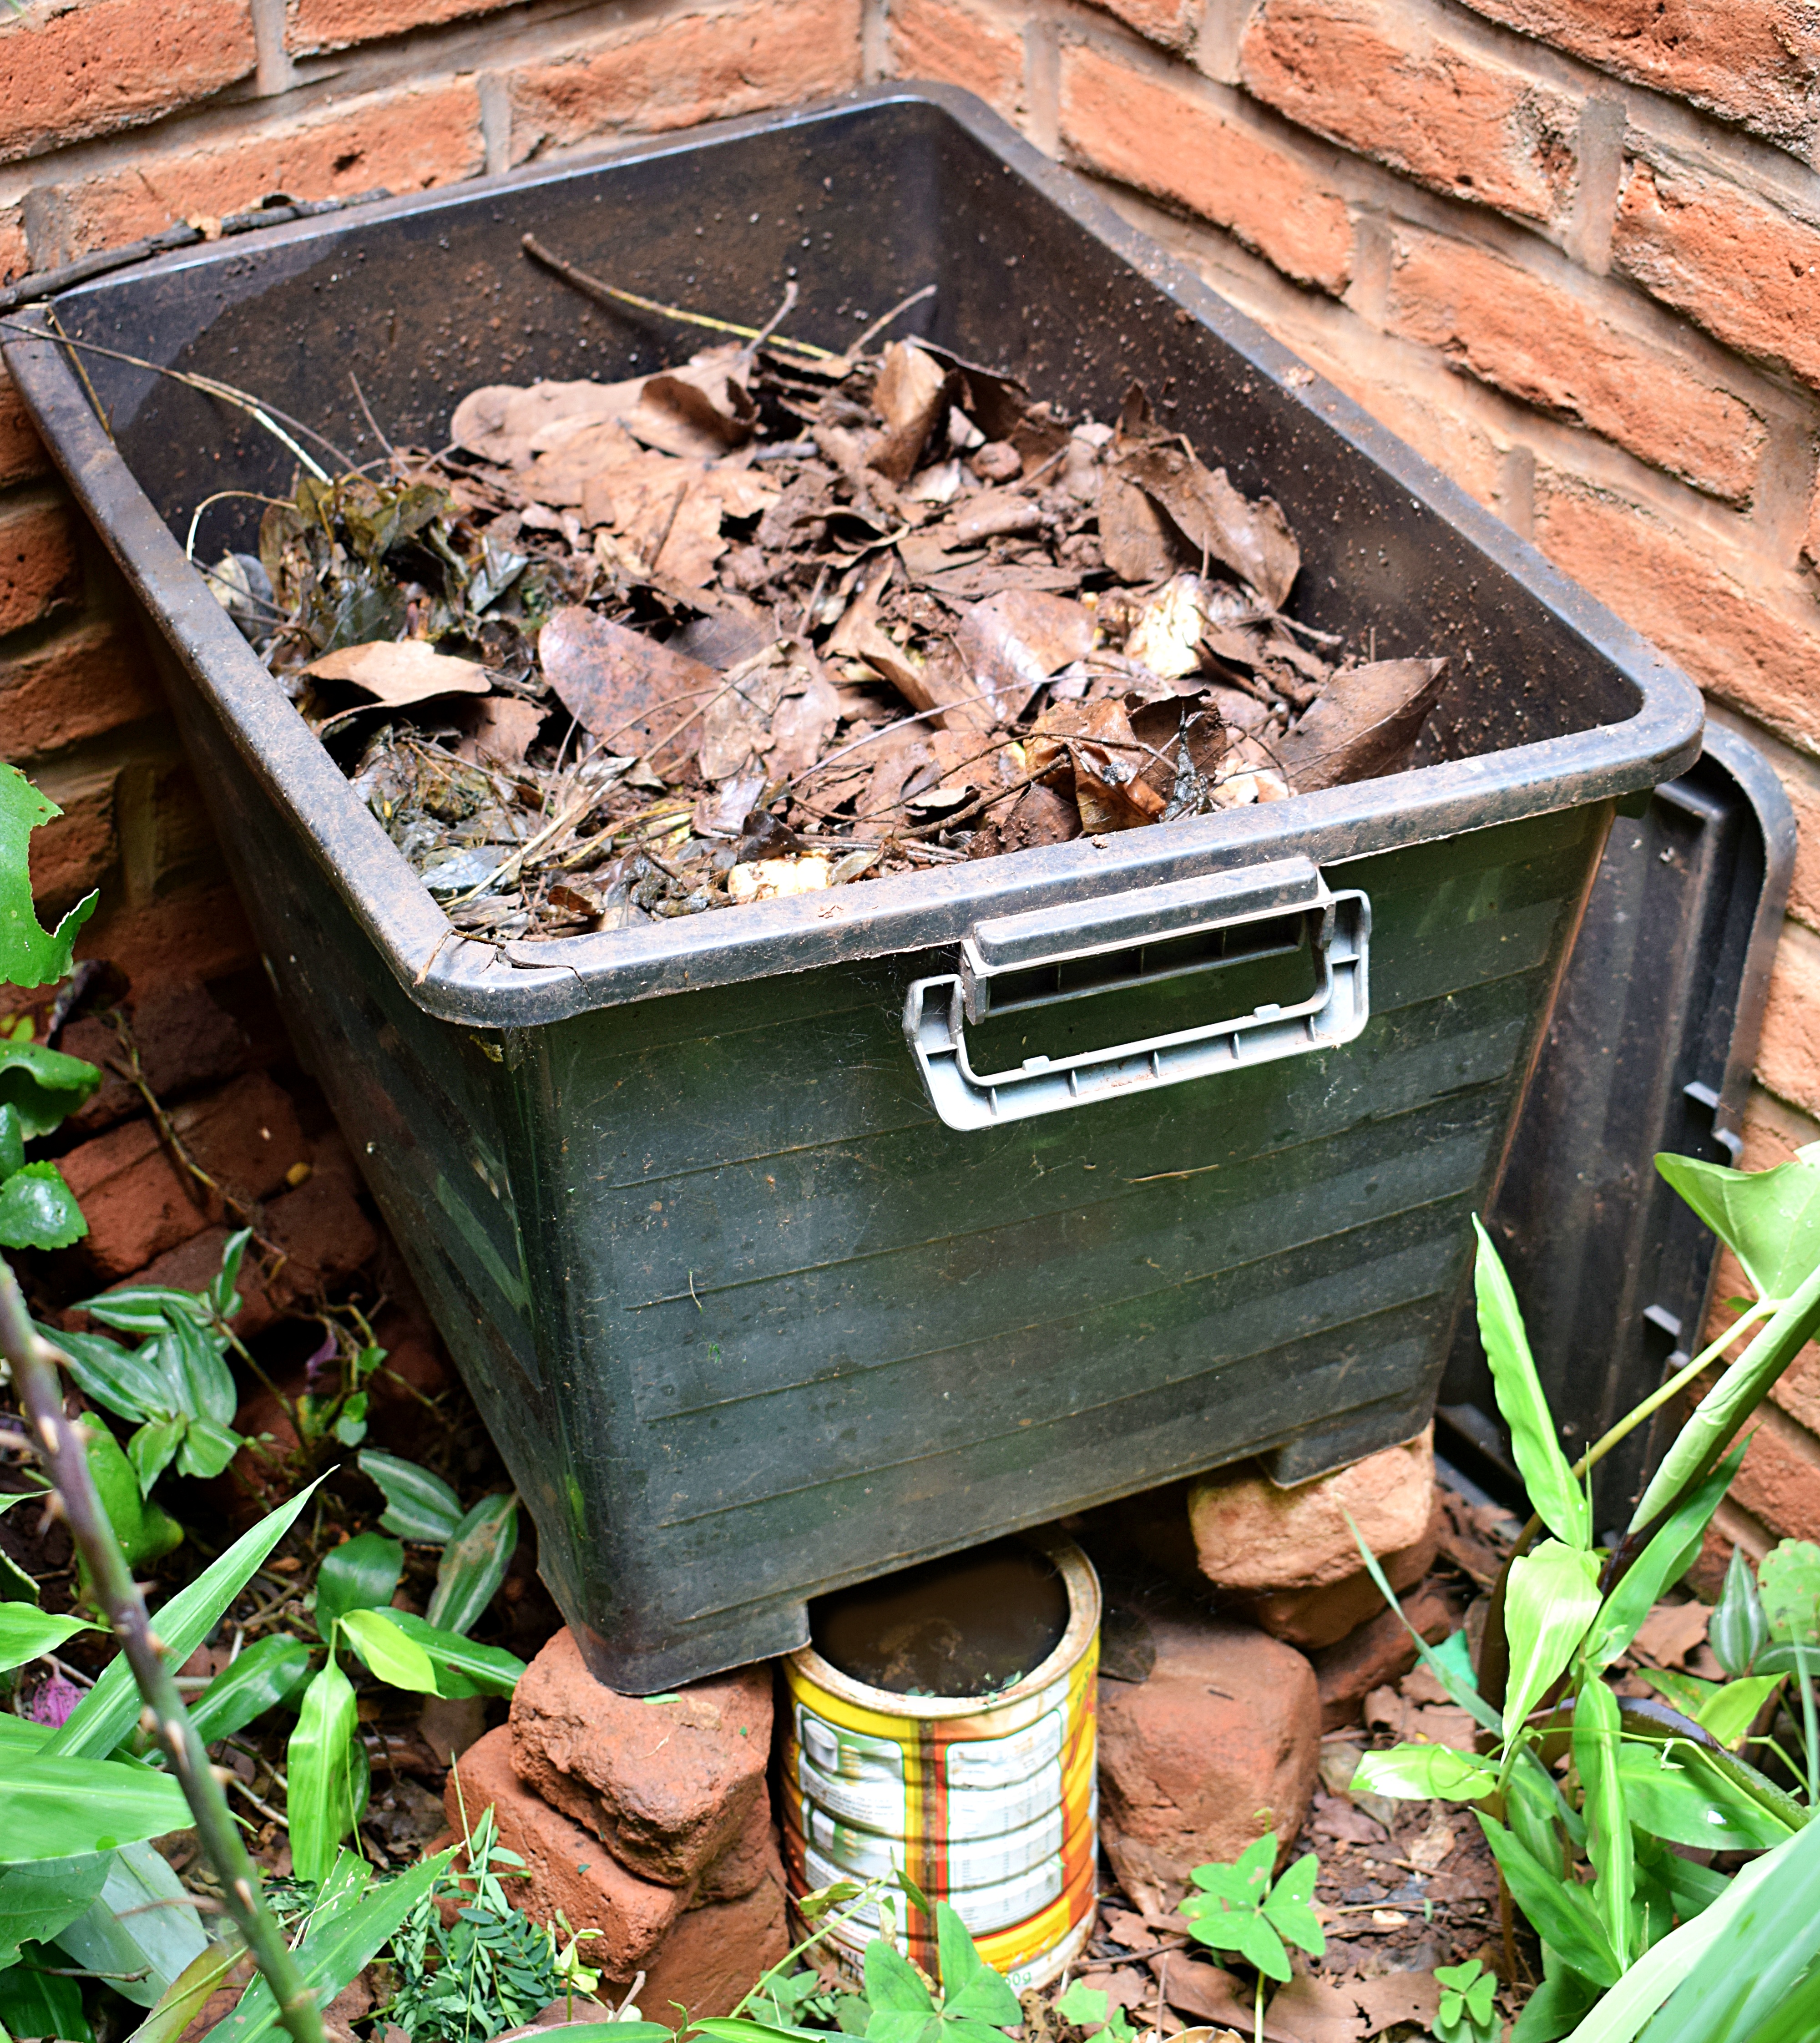
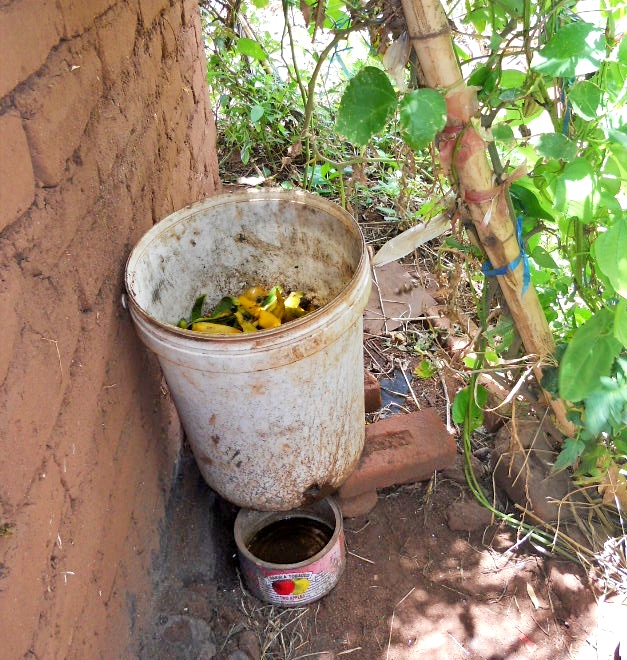
Worm farms can be made out of any container that can be covered to prevent flies and odors, ventilation to allow the worms to breathe, and drainage to prevent the worms from getting too wet and for the collection of liquid manure.
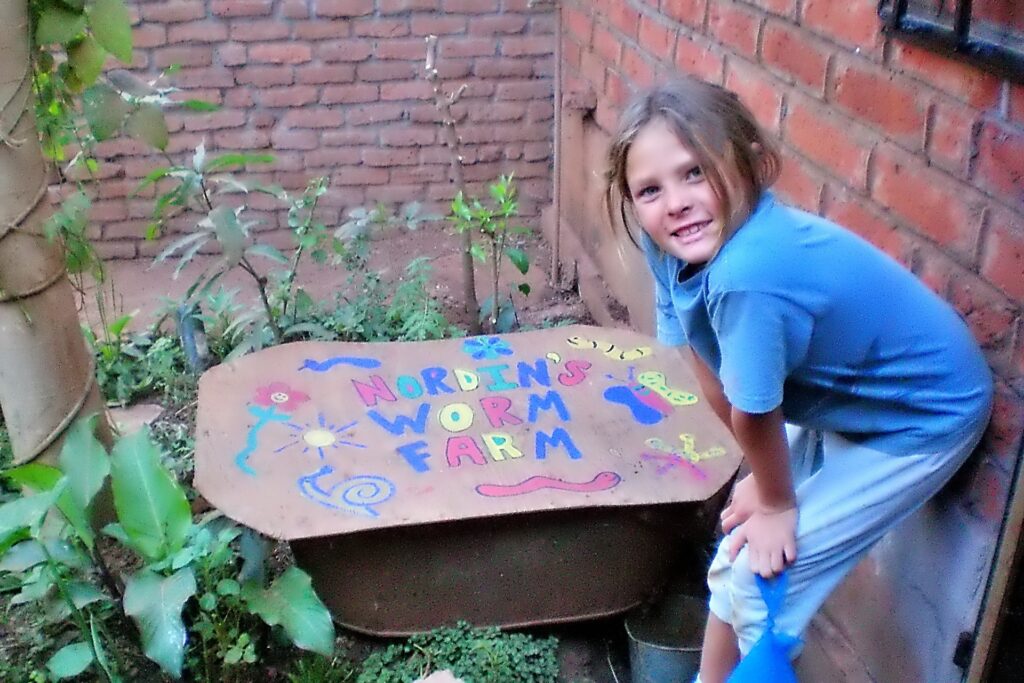
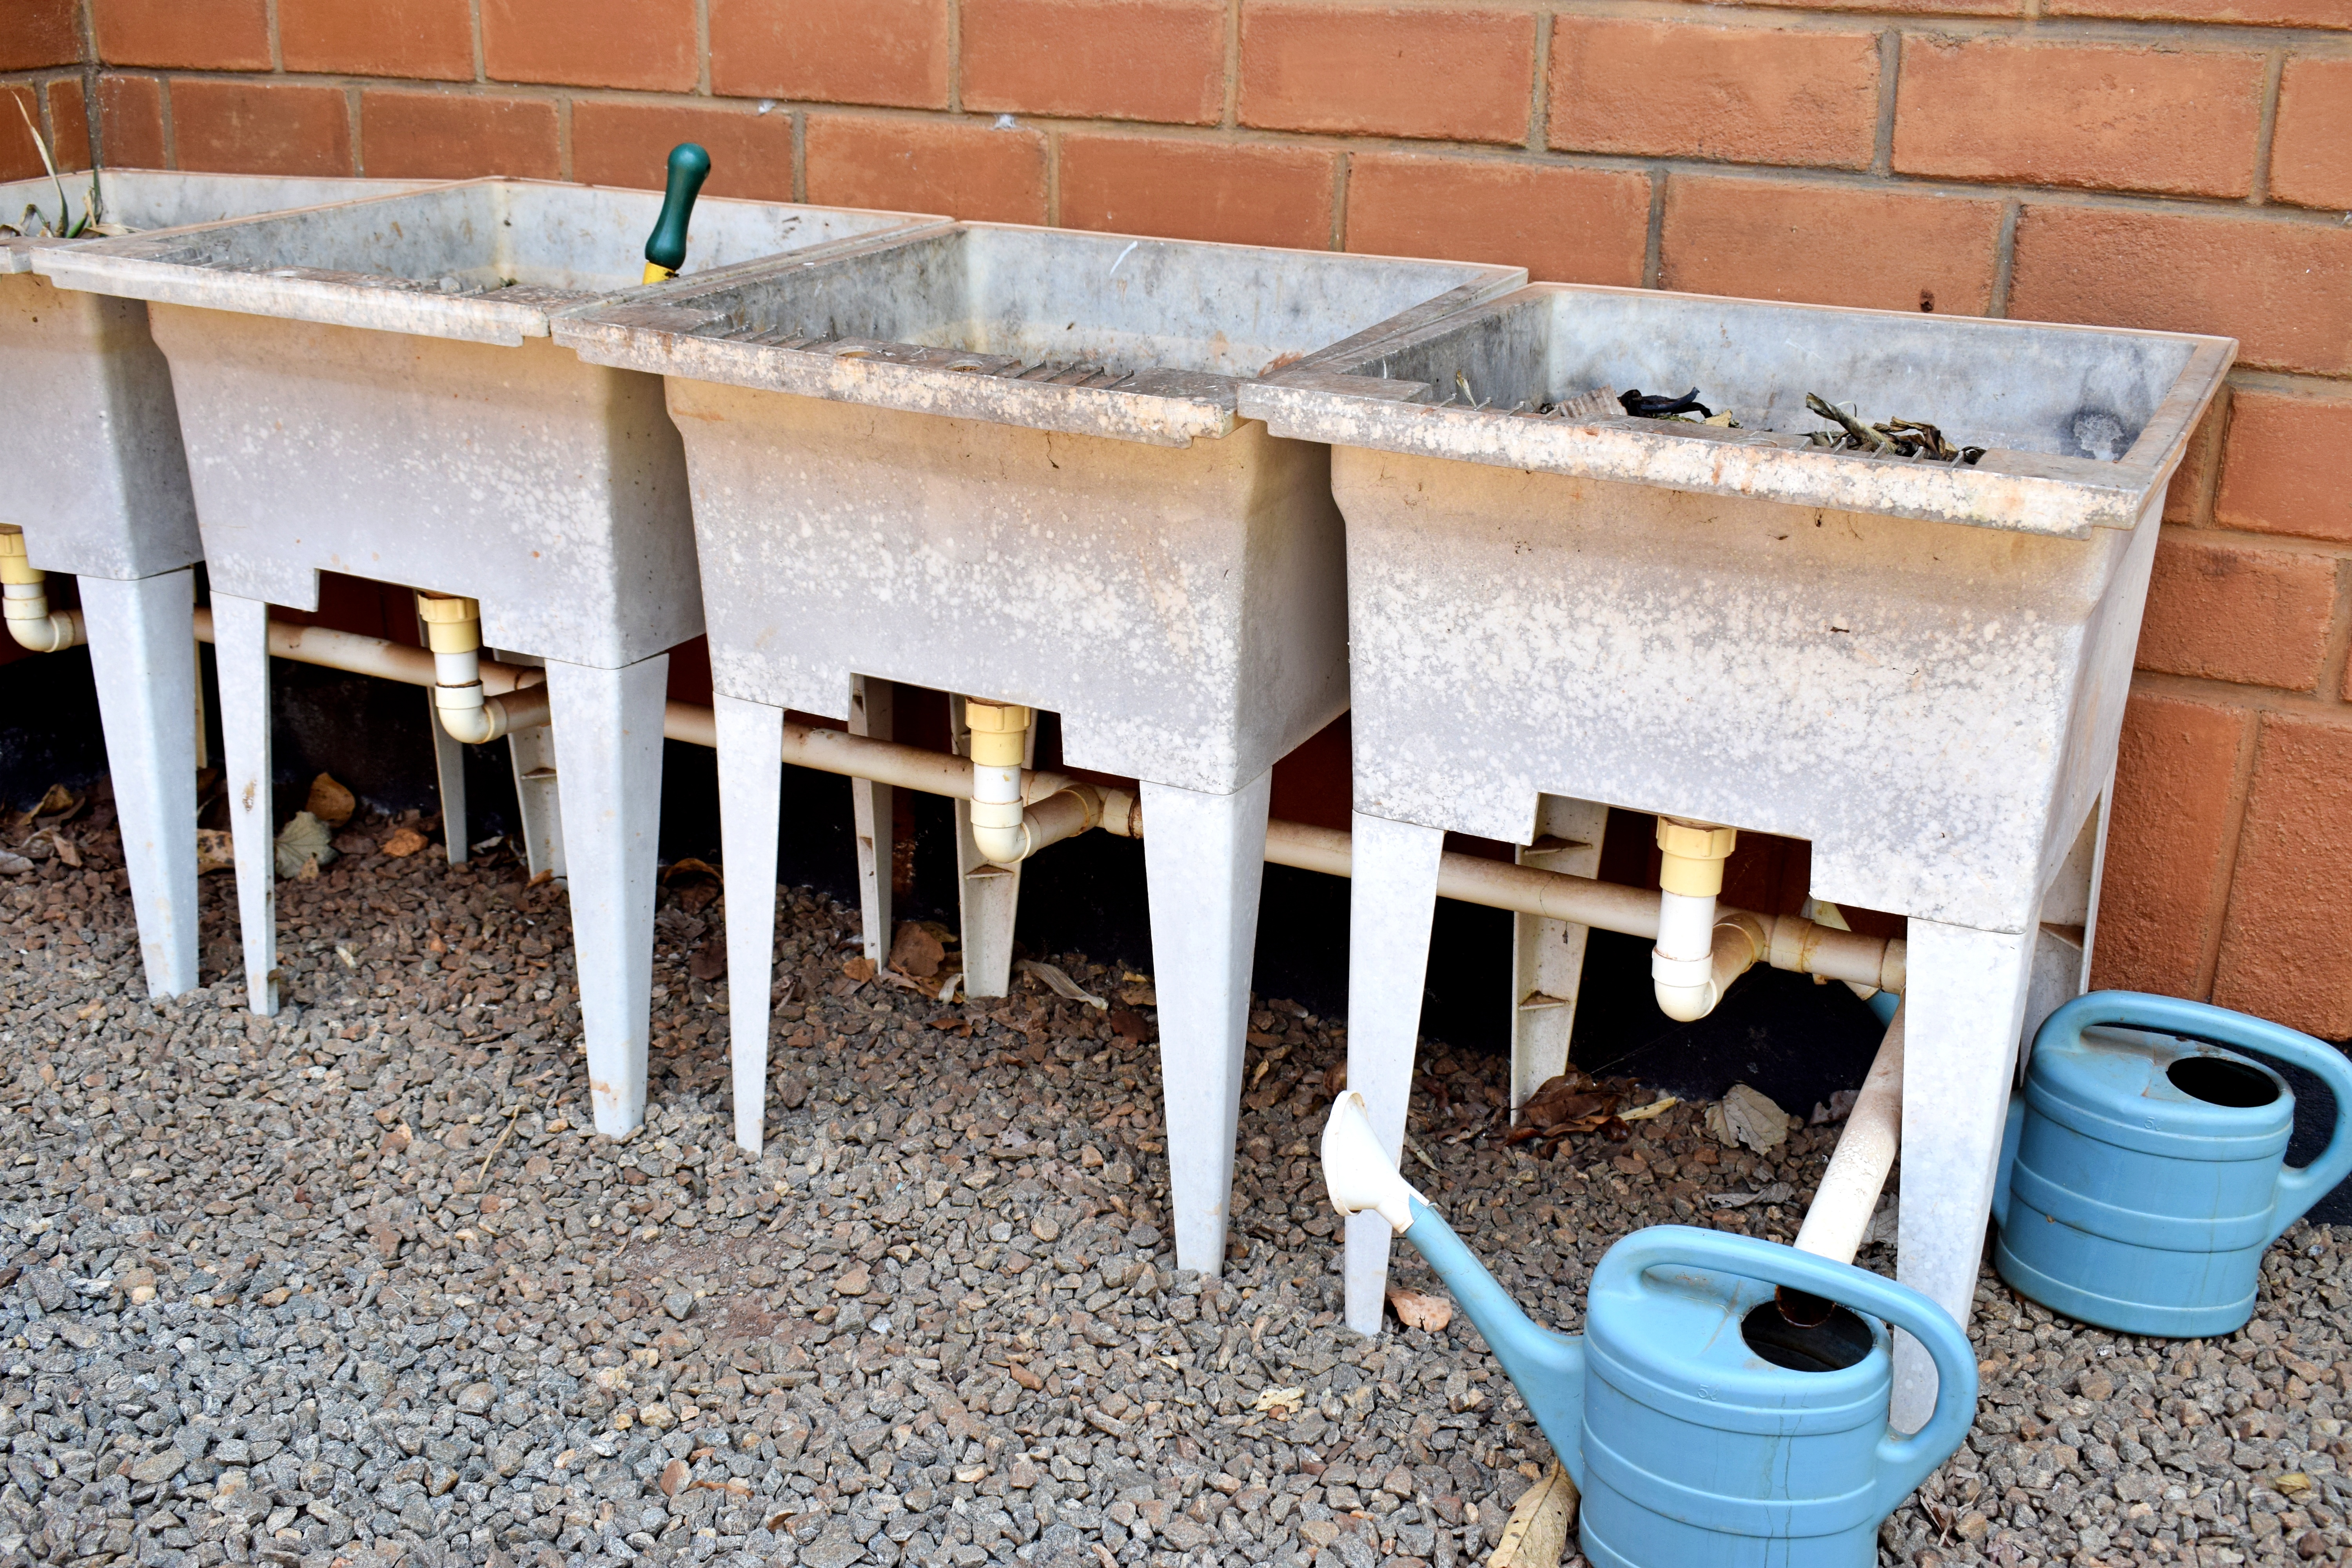
Different types of earth worms can be used for worm farming, but ‘red wiggler‘ worms seem to be the most productive and they eat up through the compost, whereas other types tend to stay at the bottom. When starting a worm farm, you should add shredded newspaper, torn-up cardboard, or gravel to allow the liquid to drain. Then you can add a handful of worms and start adding organic matter (e.g. kitchen scraps, coffee/tea grounds, leaves, flowers, grass cuttings, etc.). Place your worm farm in a shaded area and keep the organic matter moist, but not soaked.
You can keep adding organic matter to the container for several months, and the worms will continue to turn it into black gold. When you feel that the worm farm is ready for harvesting, you can dump the container out onto newspapers or a tarp and then separate the worms from the castings by hand. Add the worms back to the container and you are ready to start again. The compost can be used directly on plants, or watered down to add to container gardens.
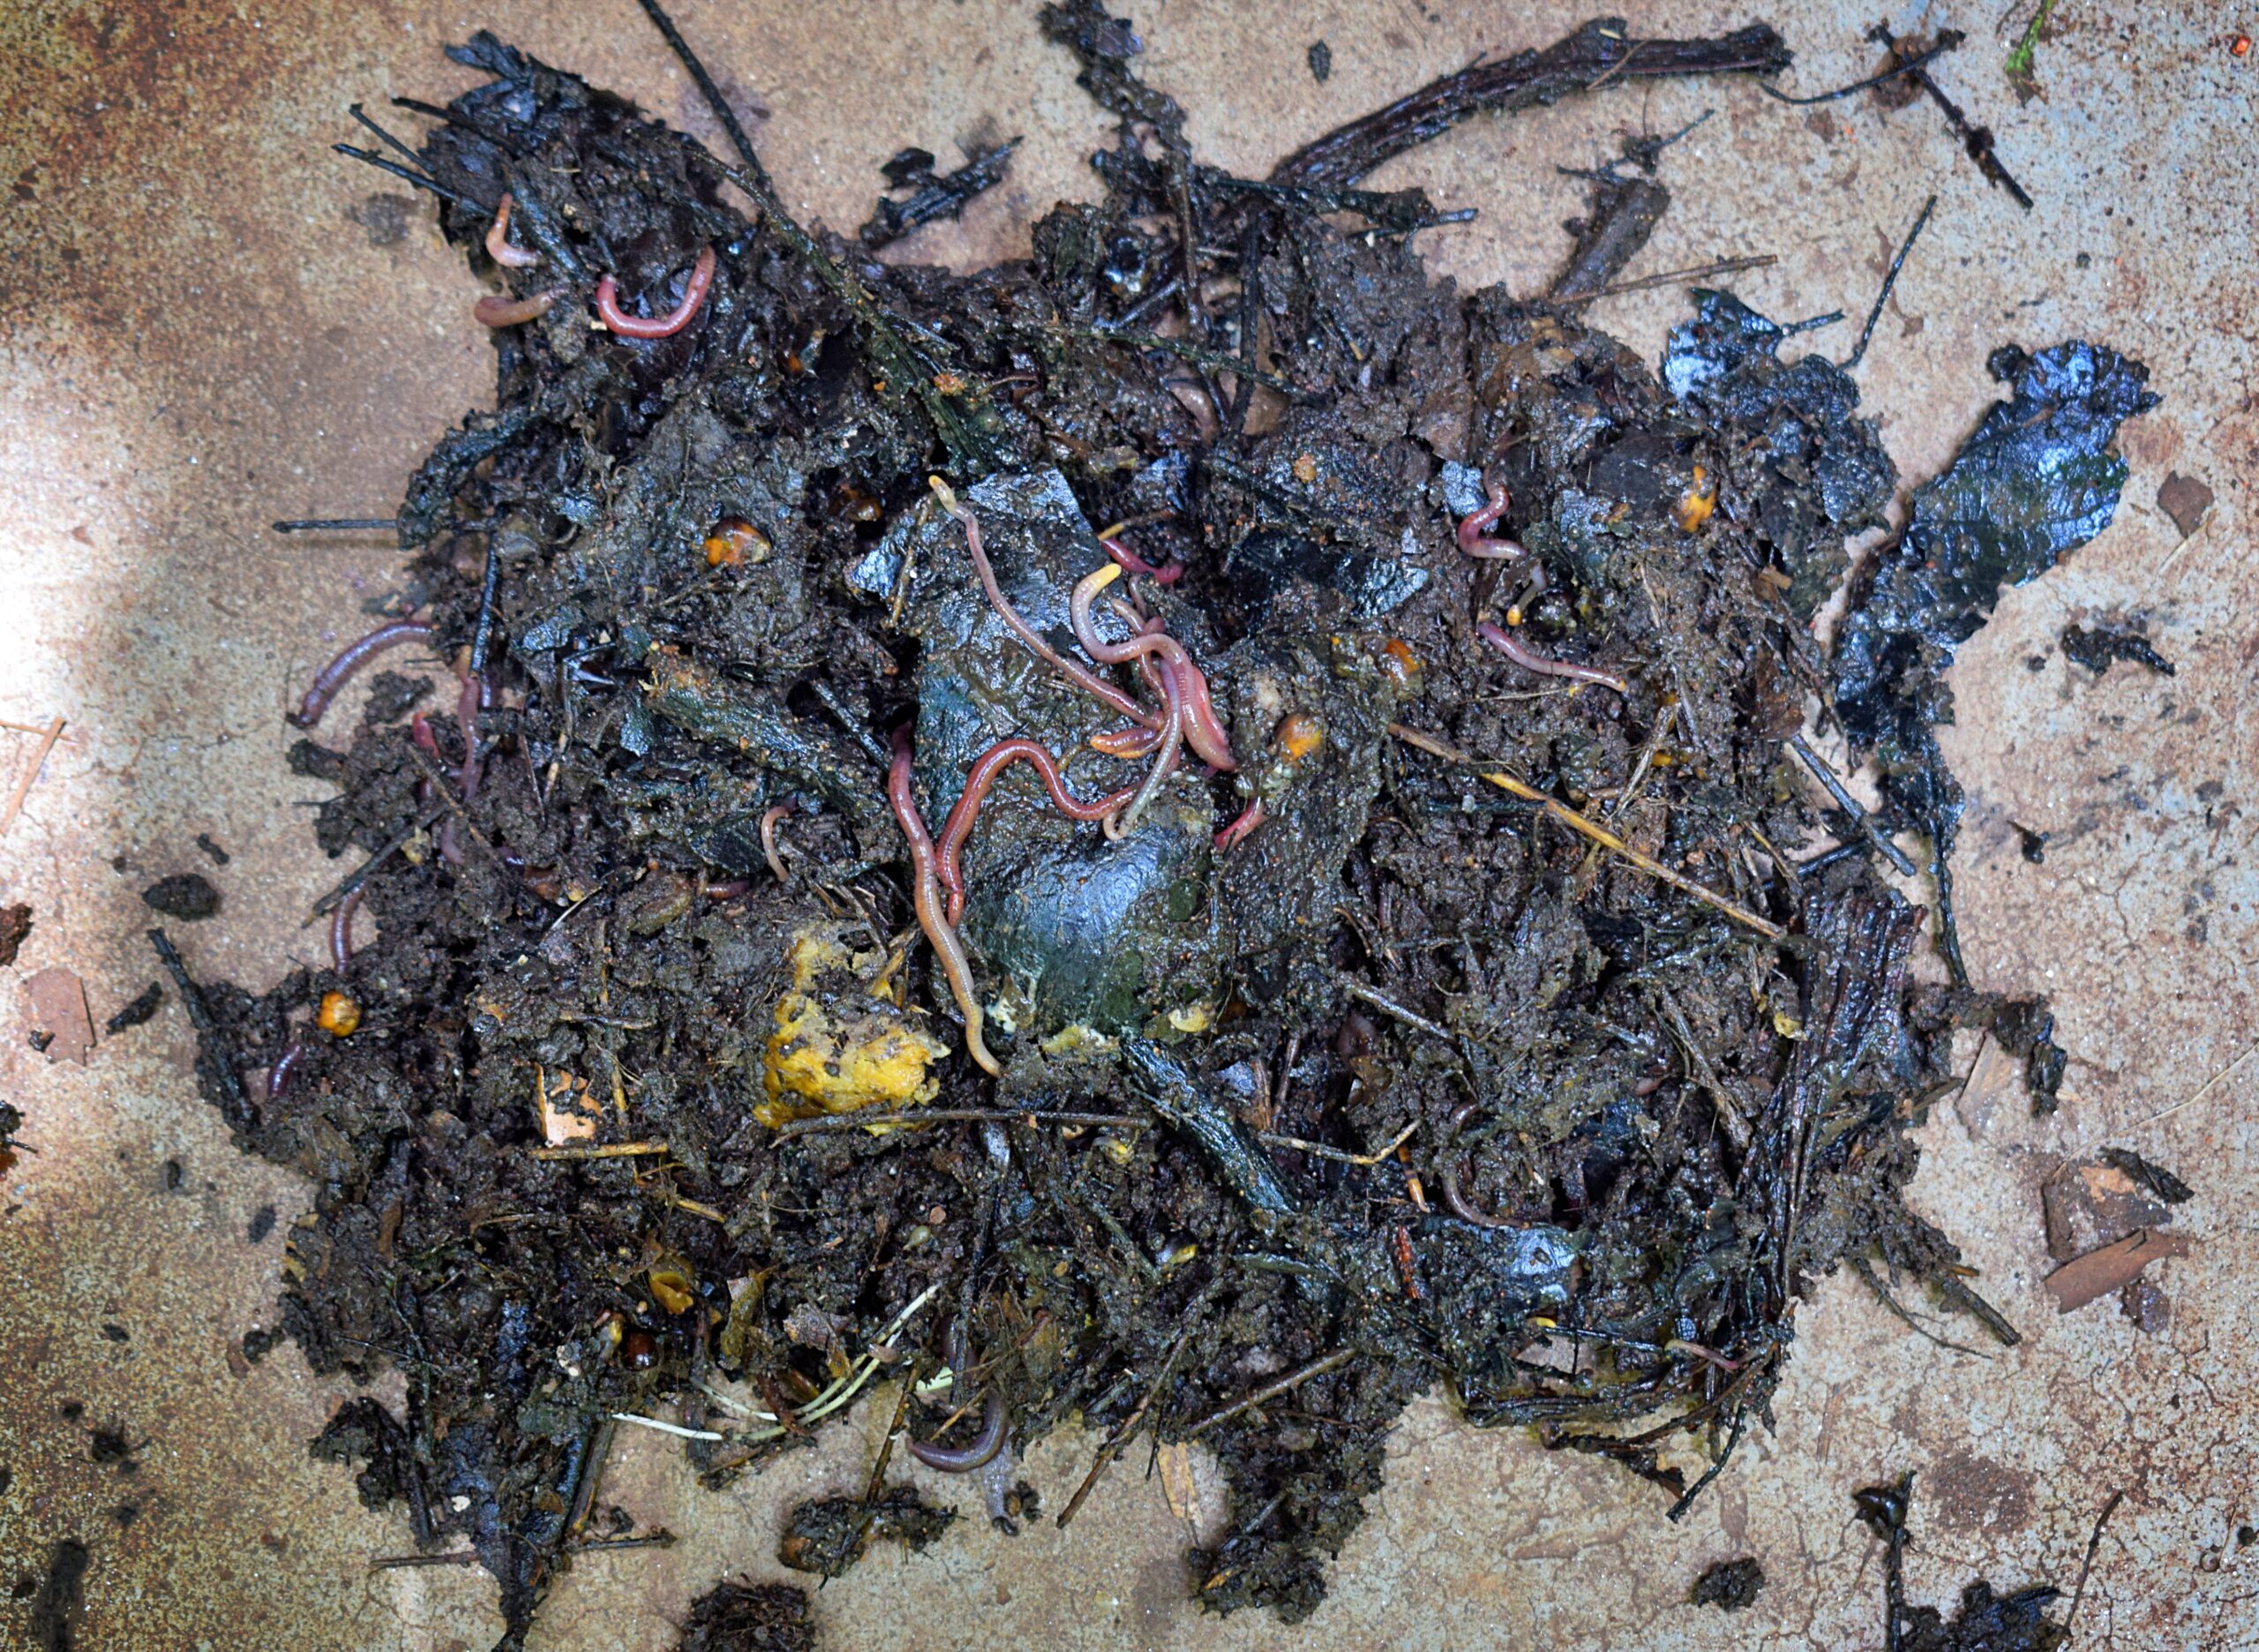
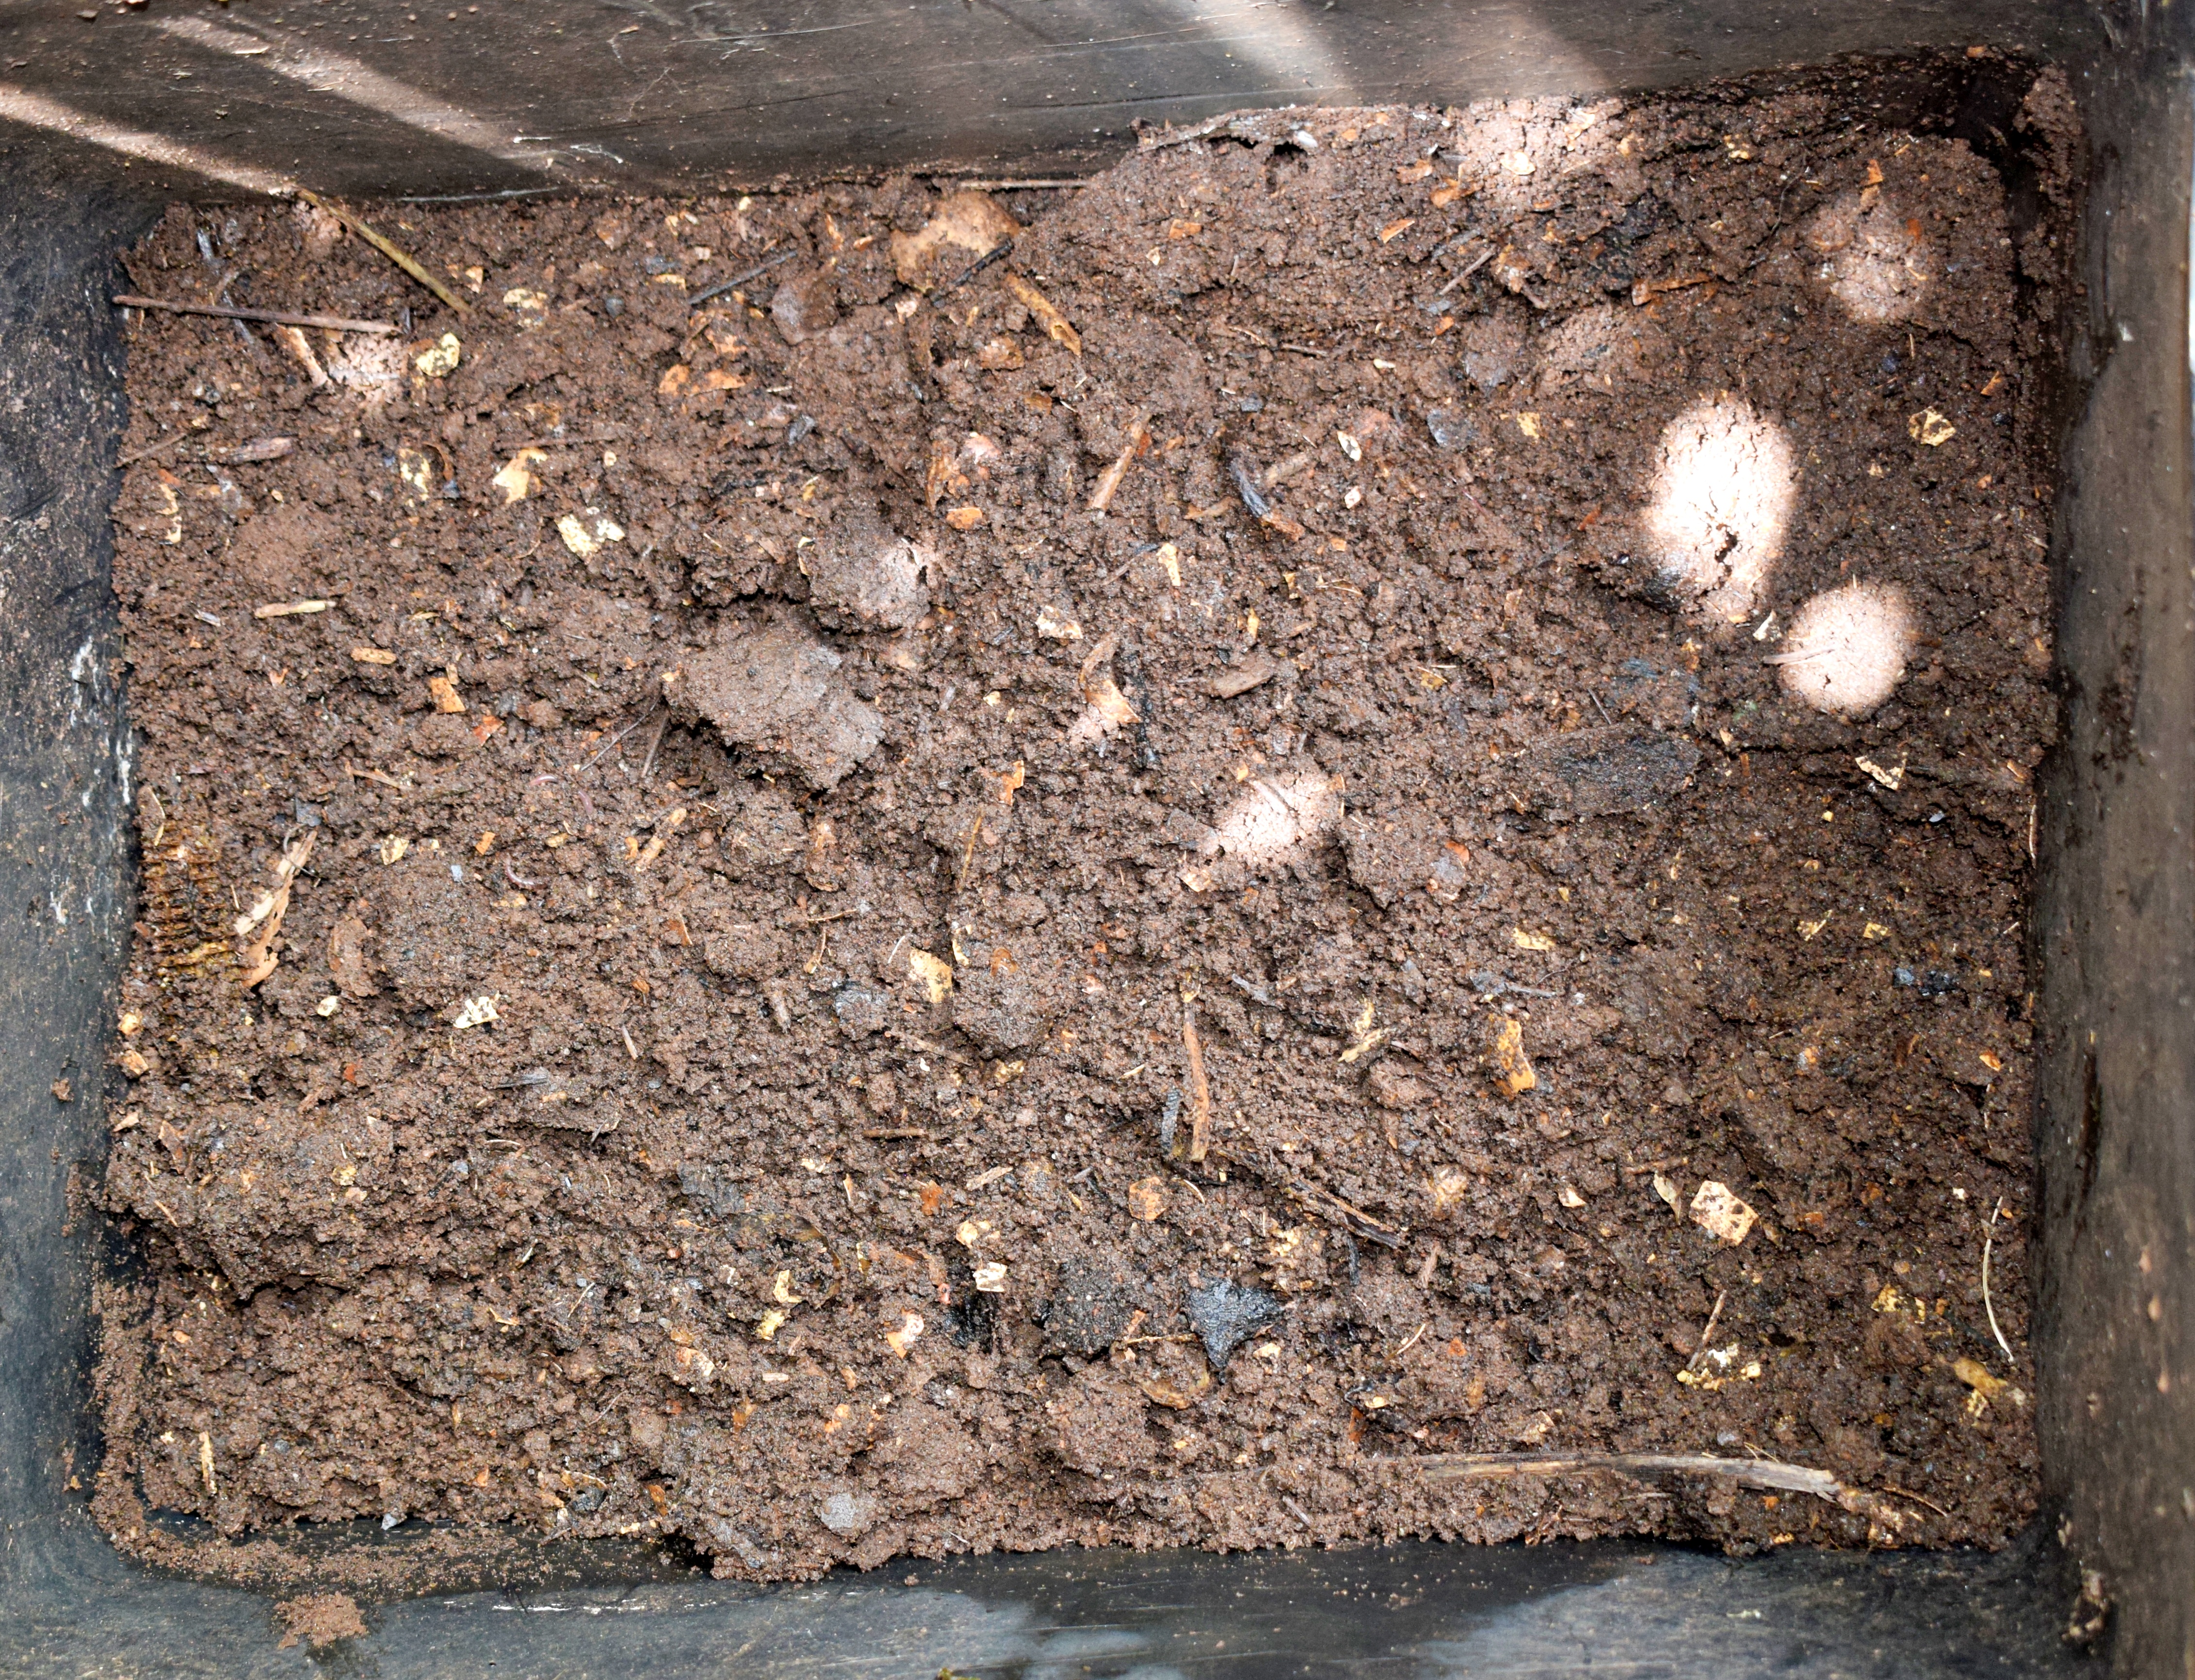
When creating a worm farm, you should have a drain or drainage holes in the bottom of the container. If the container can be elevated, you can place a container under the drainage area to collect the liquid worm fertilizer. This liquid is loaded with nutrients and microorganisms, and can be used directly on plants without burning them.
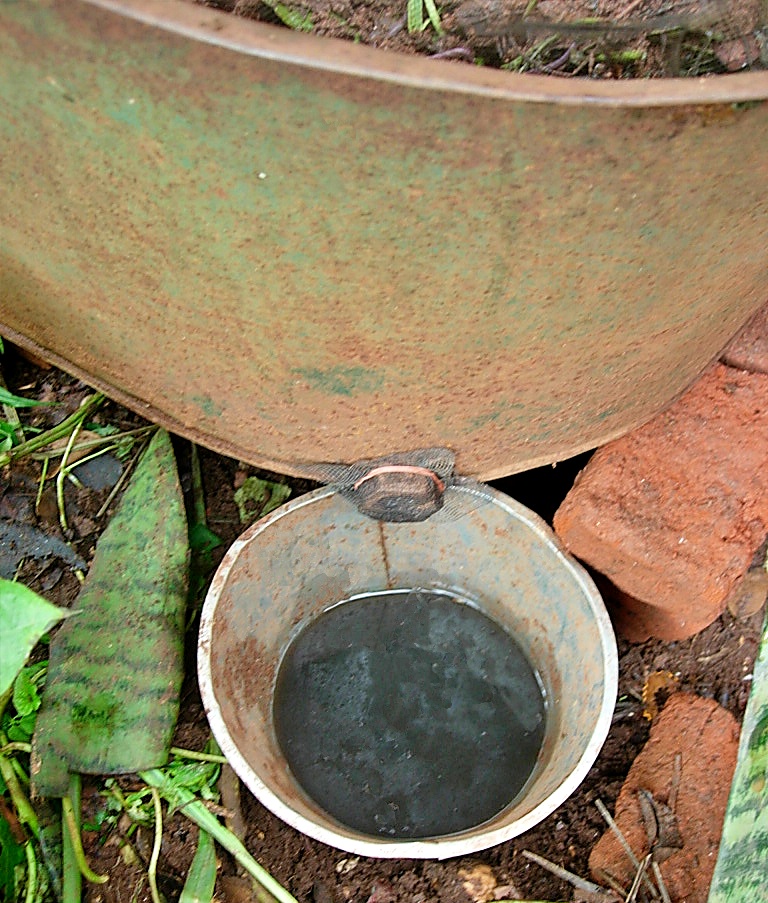
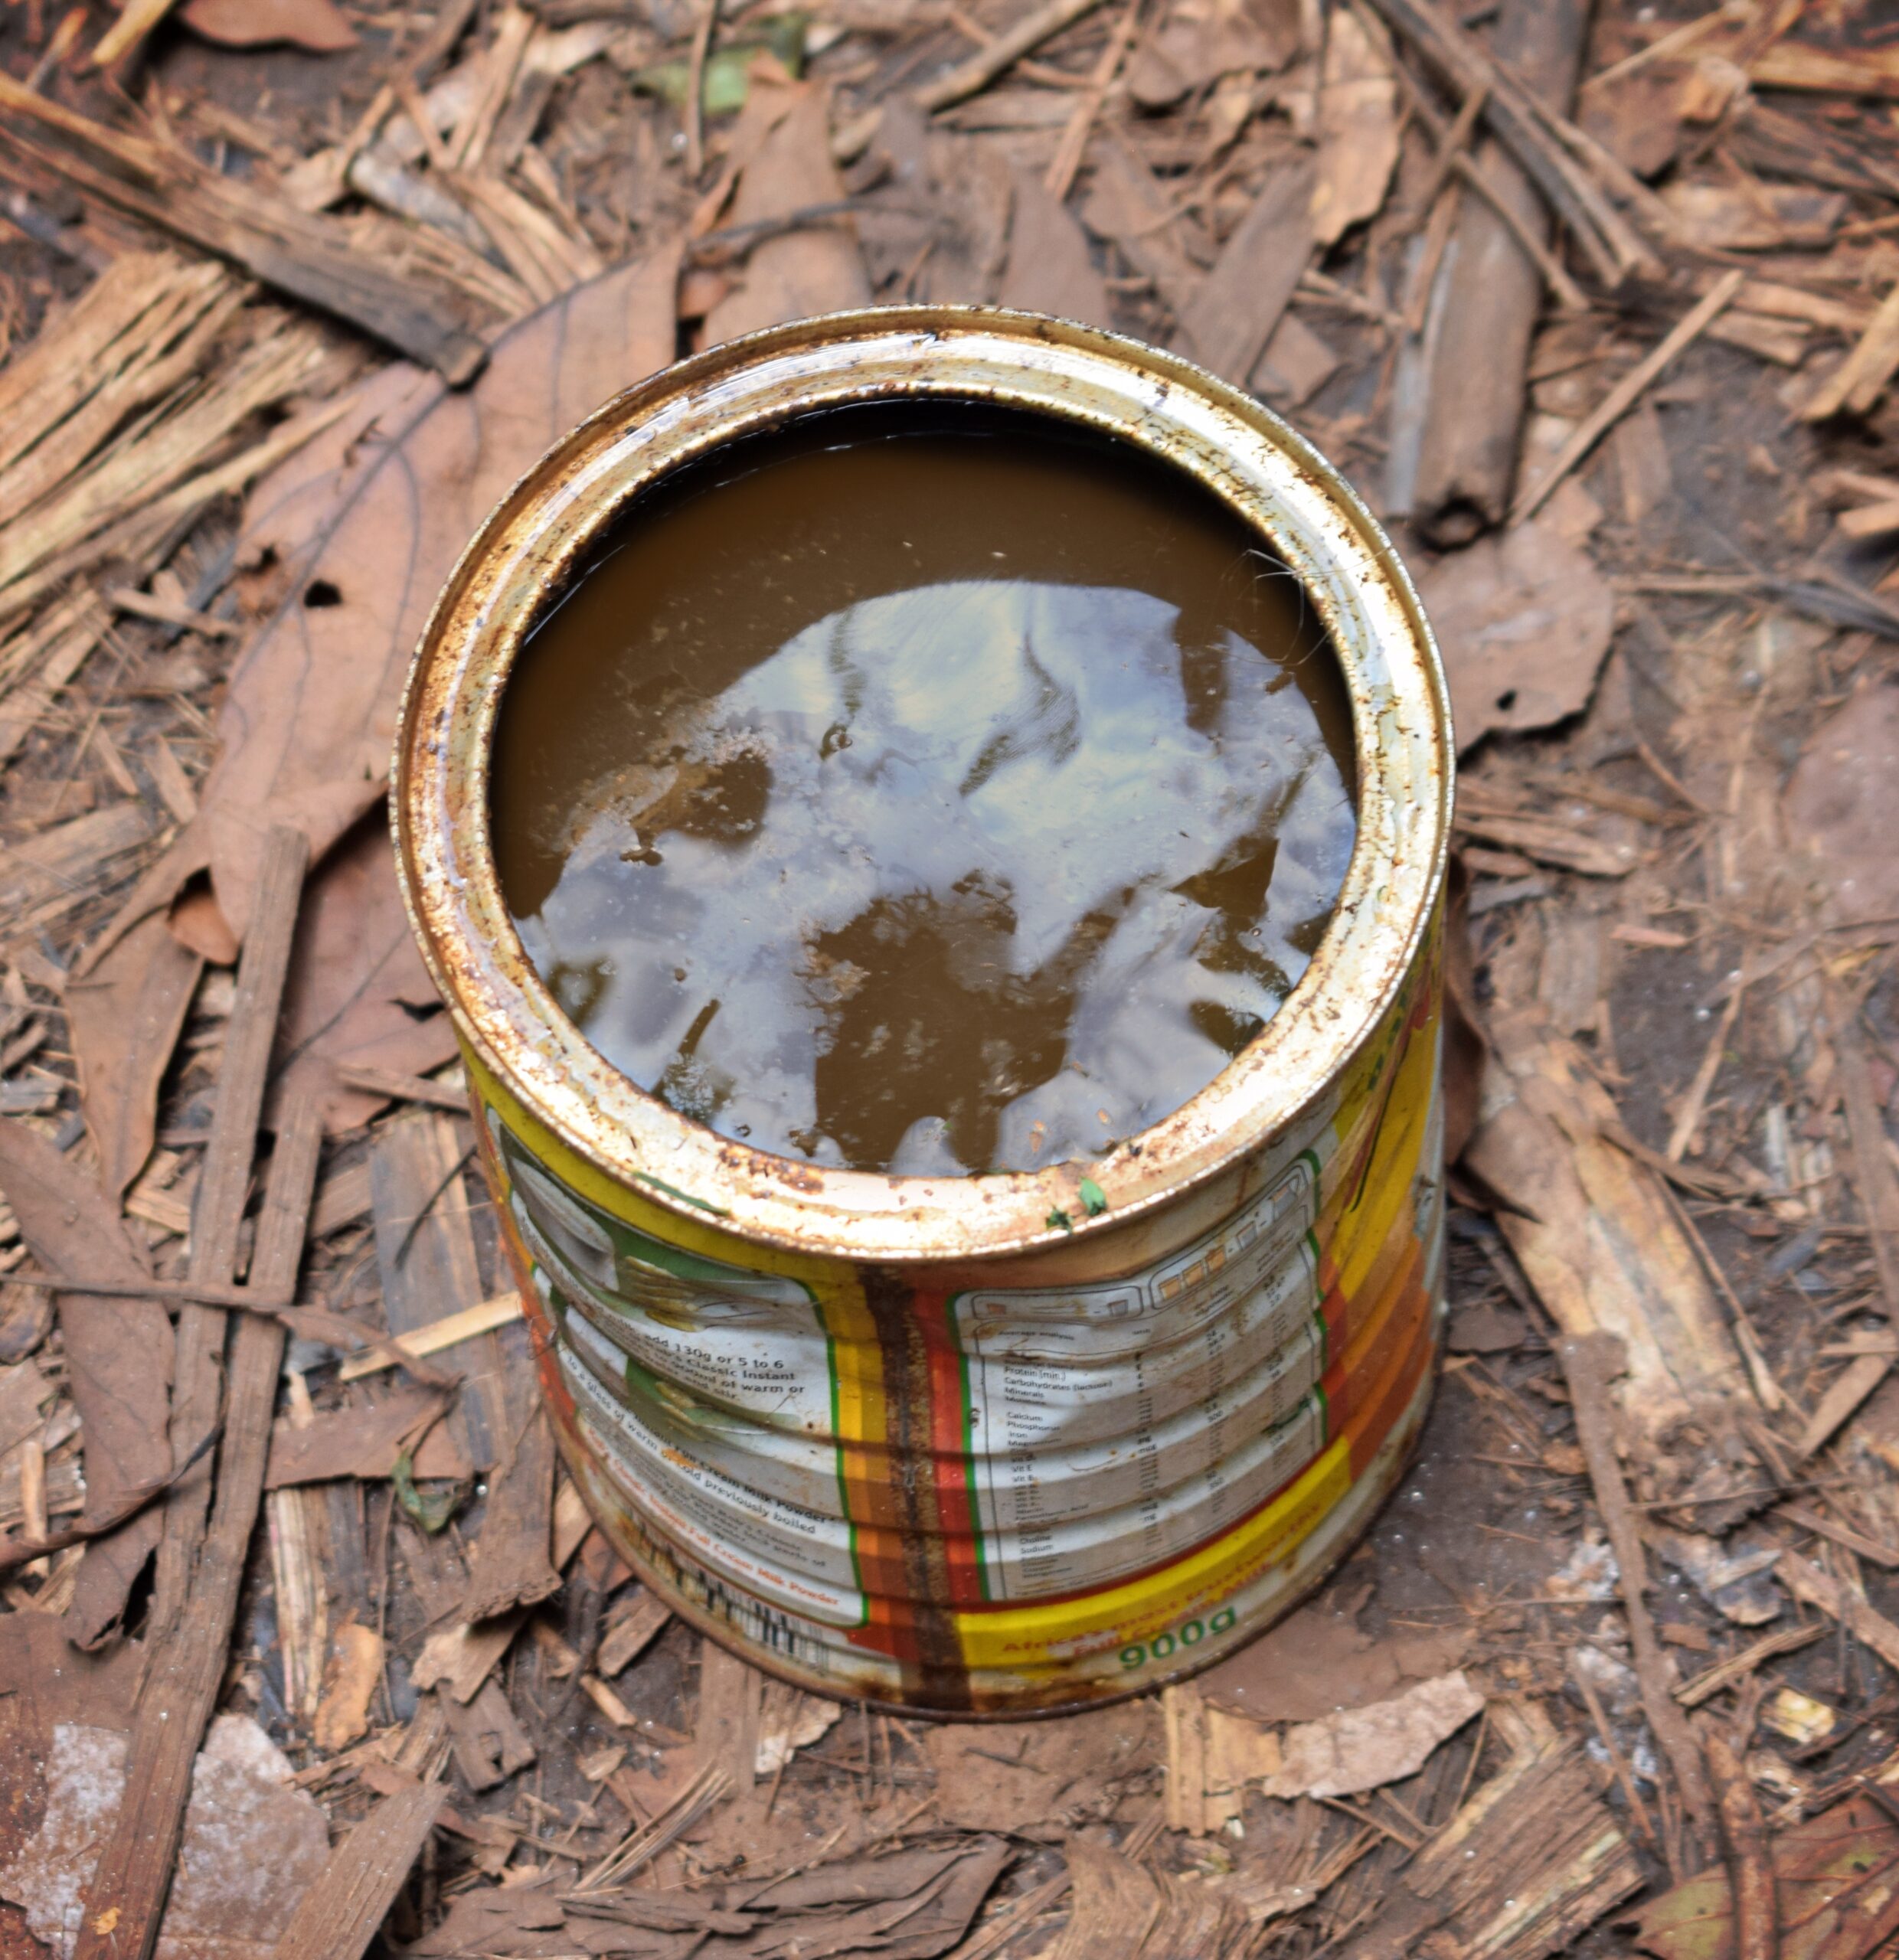
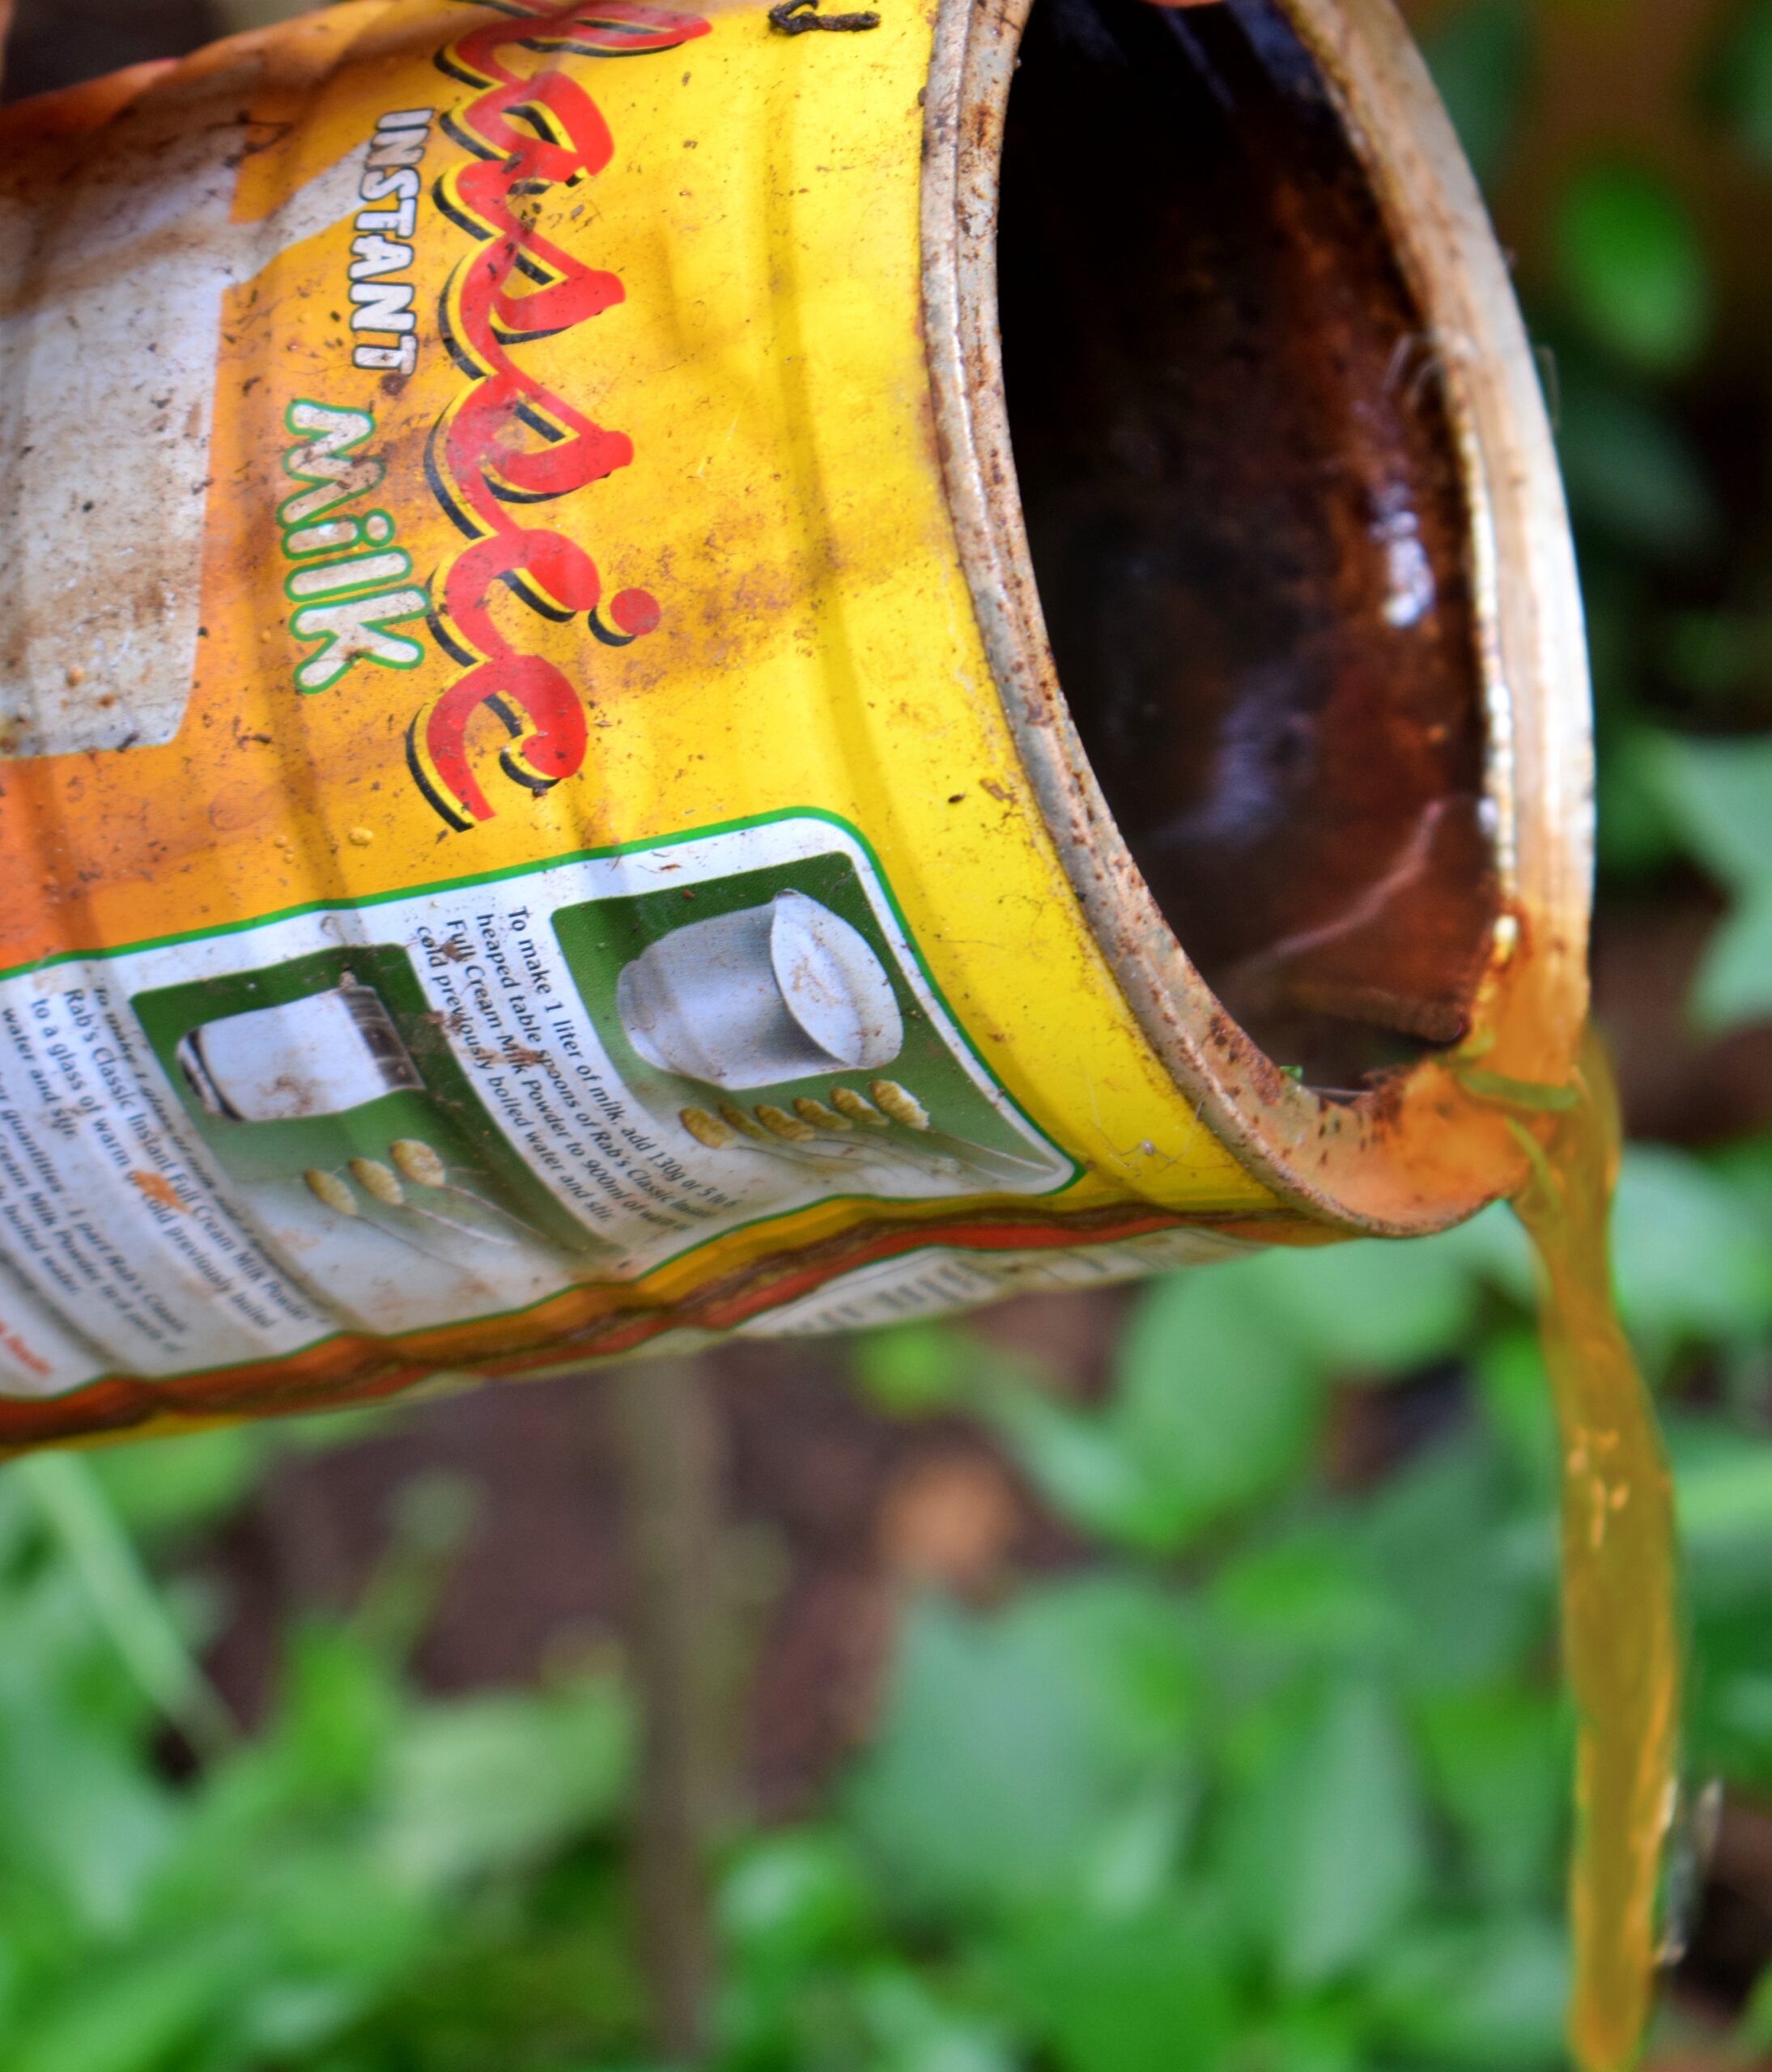
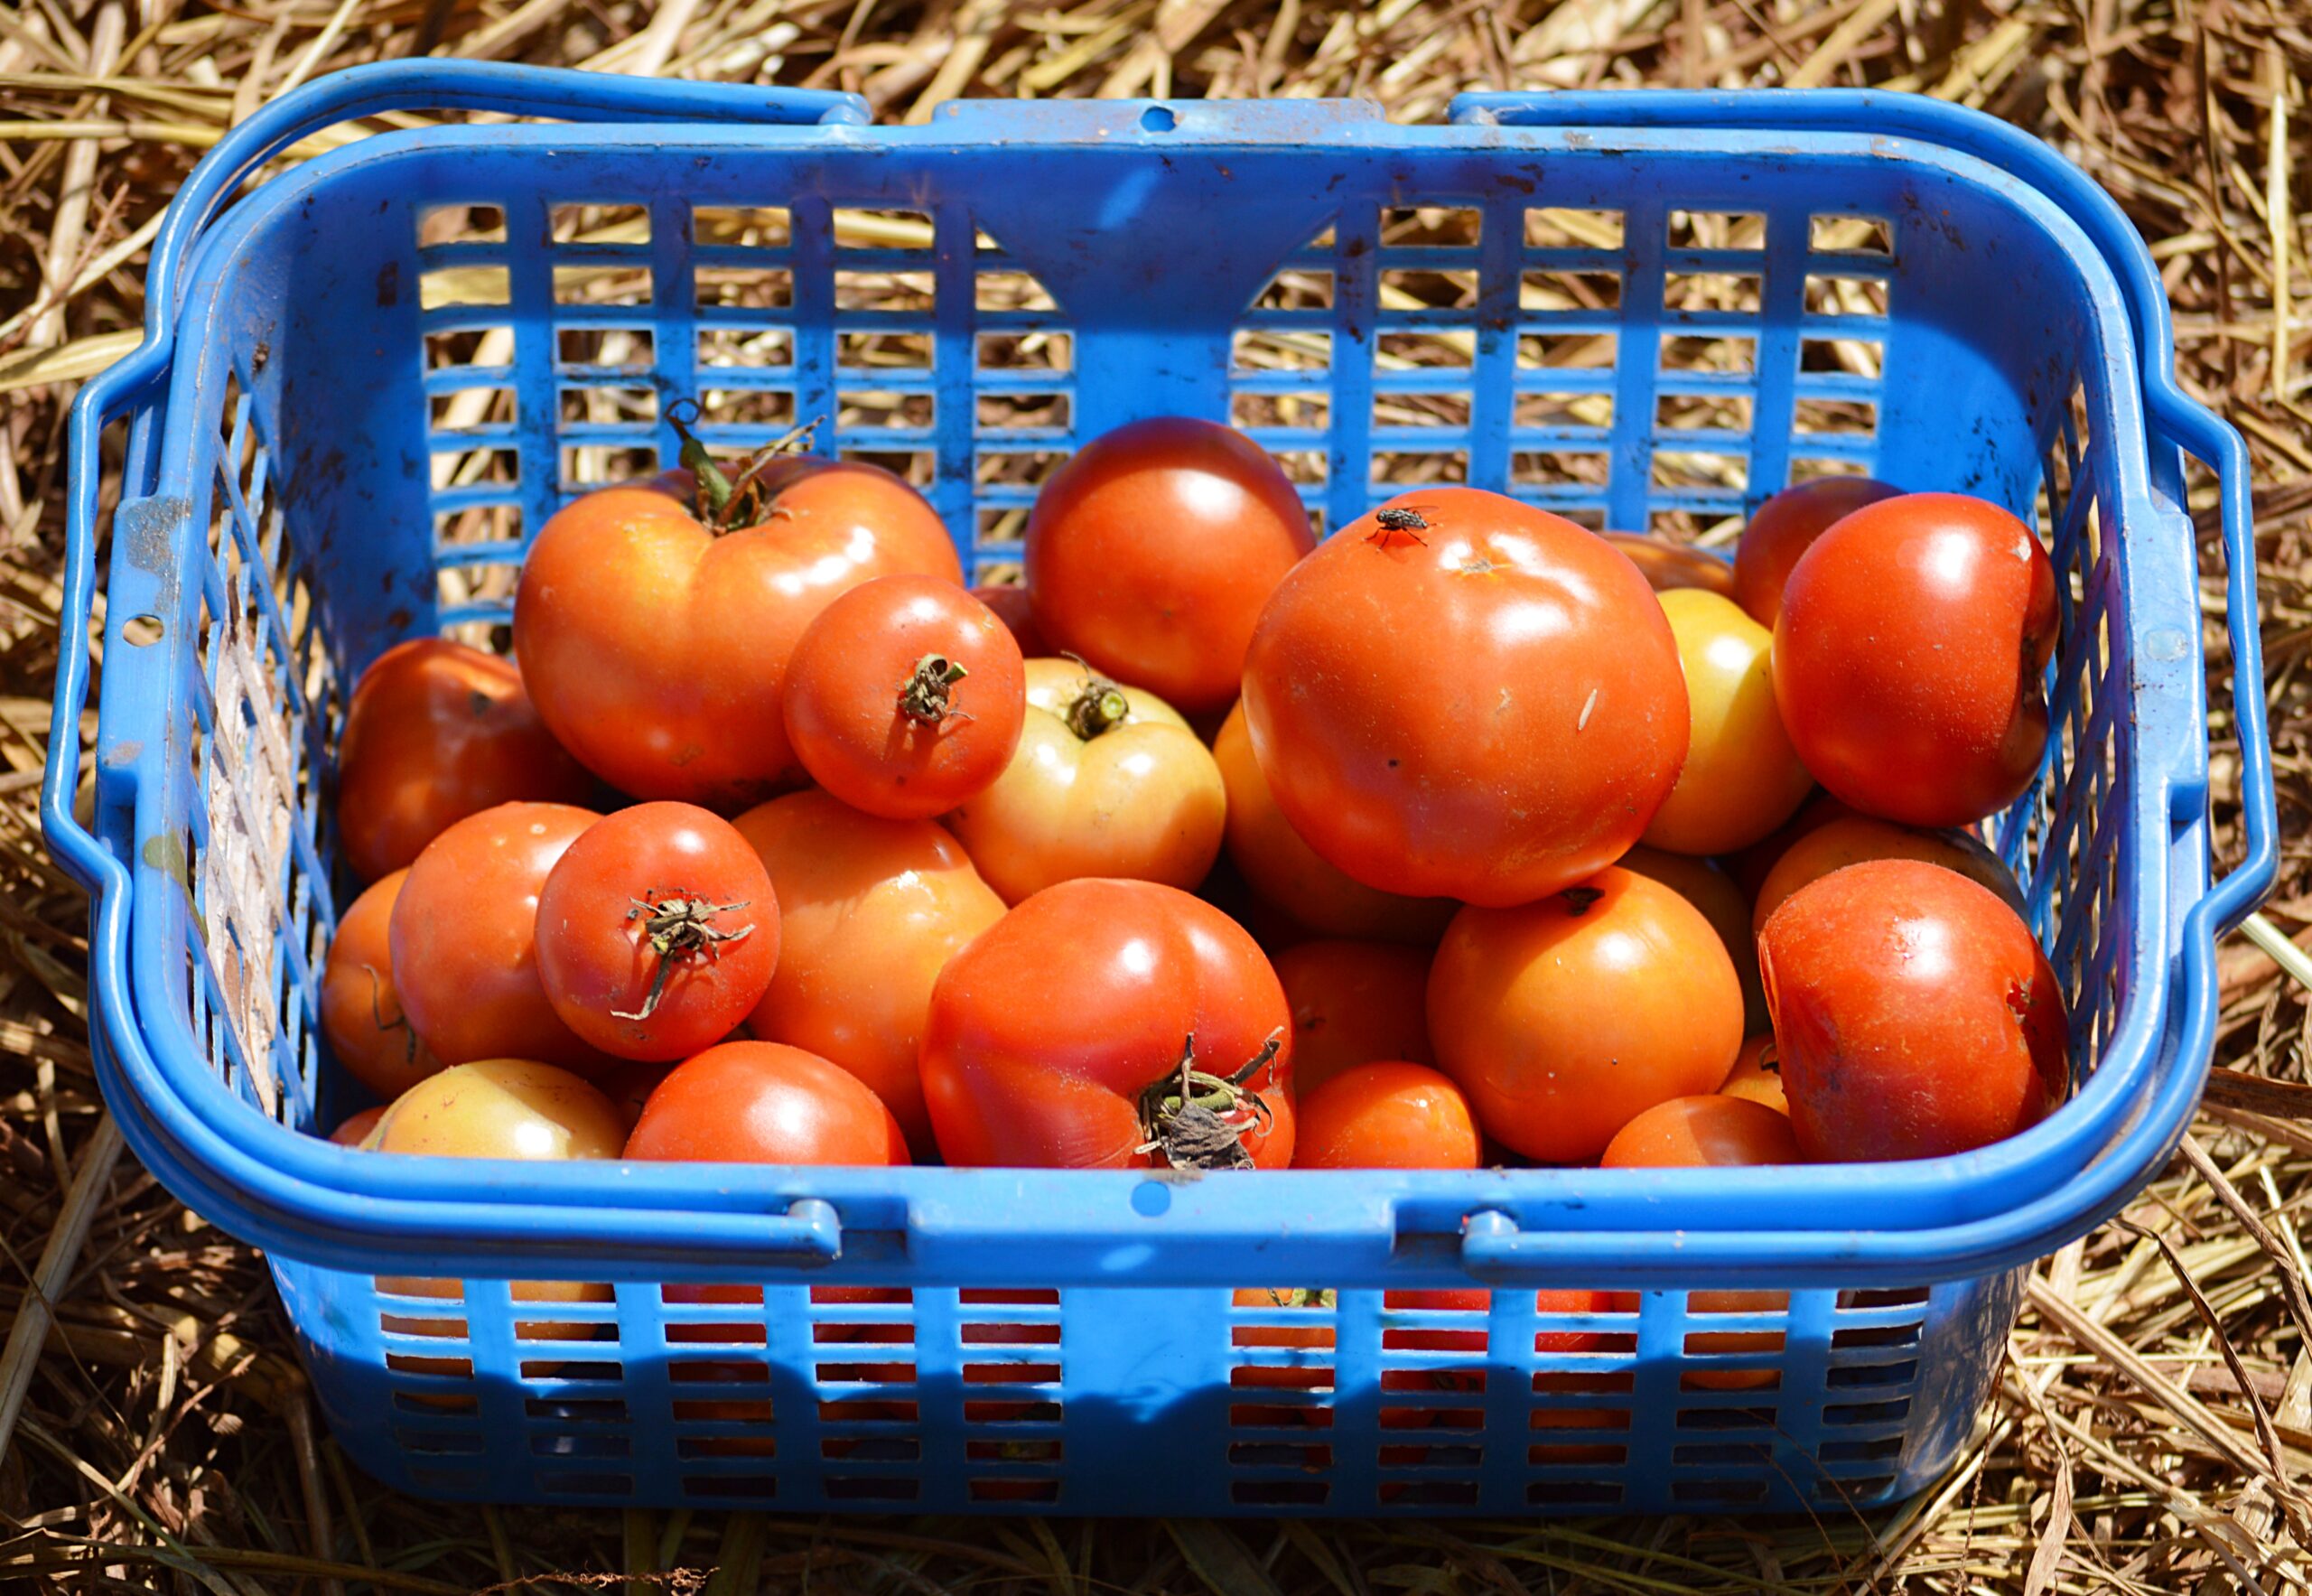
We have found that the worms in our worm farm do a very good job of eating through almost all types of organic matter. Many books recommend not putting citrus in a worm farm, but we haven’t found any problems as long as it is added in moderation. Sometimes you will find large seeds, such as avocados or mangos, germinating in the worm farm. These seedings can easily be moved and out-planted. We have also found that when we use the worm compost in our gardens or fields, we often get tomatoes germinating from seeds that were not processed by the worms. The picture below shows a harvest of ‘volunteer’ tomatoes that we got one year out of our zone 3 staple garden.
Don’t be intimidated by worm farming. It’s simple to set up, easy to maintain, helps to recycle food waste, and gives you an incredible fertilizer for free!
All donations go directly towards helping to spread Permaculture solutions throughout Malawi. Every little bit helps, and even a little can go a long way!
